Configure the website header
The design of your header
The design of your header is set by your website theme. Some common ways you can configure the design of your header include:
- Enable fixed scrolling, so that the header stays in place when a user scrolls.
- Change the background colour and text colour with the colour picker or by adding a HEX code.
- Override the default site logo by uploading a new image.
How to find your header settings
- Go to Site and choose the site version you'd like to update.
- Select a page (e.g. Homepage), hover your cursor over the header in the preview and then click Edit header.
Note: Configuring the header applies to all pages site-wide, except for checkout pages.
How to add and edit links in your header
- In your header settings, click Add Link.
- Select the Link Type for the new link:
- Page - Pages under Site
- Experience - Pages under Experiences
- Blog post - Pages under Blog > Posts
- External Link - Other links and pages from external websites
- Folder - Label only, ideal for creating submenus
- Next, use the dropdown menu below Link Type to select the page you'd like to link (pages listed will depend on selected Link Type). For External Links, enter a URL — make sure https:// or http:// is included at the start of the URL and that there are no spaces.
- Fill in the Label – this will be the text that is displayed on the header menu.
- Click Create to add the link to the menu.
- To change the order of links, drag and drop the items in the list.
- To remove a link, click on the bin icon next to the link.
- Click Save to publish changes.
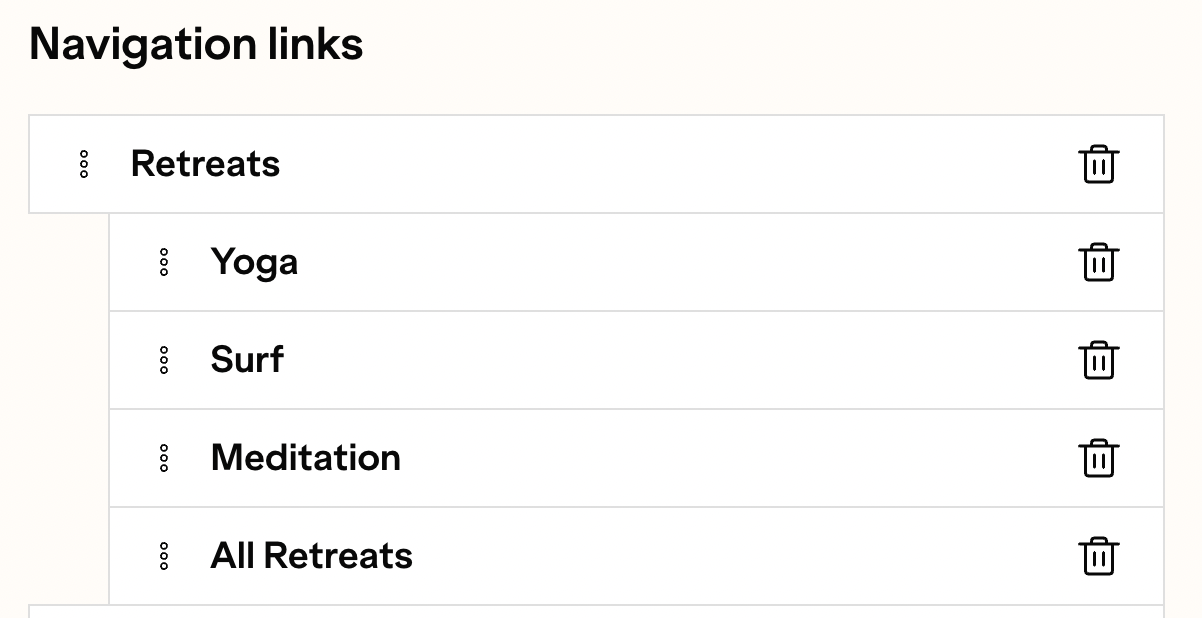
How to create a submenu
Submenus, also known as dropdown menus, allow you to nest pages and organise a large number of links for easier navigation.
The availability of submenus depends on your theme — get in touch with support@easol.com to enable submenus for your theme.
To create submenus:
- In your header settings, click Add Link.
- Select a Link Type, Page/External Link and Label.
- Repeat for other links in your submenu.
- Under Navigation Links, drag and drop submenu links, so that the submenu links are indented and nested under a top-level link.
- Click Save to publish your menu.
Note: Nesting submenus within submenus requires developer support.
How to add and edit the main call to action in your header
- In your header settings, click Add Link.
- Toggle Show CTA to display the main call to action button in the header.
- Next, add a label in the Text field and add the destination link in the Link to field.
- Click Save to publish changes.
Note: Depending on your website theme, you may have the option to add a secondary call to action in your header.
Comments
0 comments
Article is closed for comments.